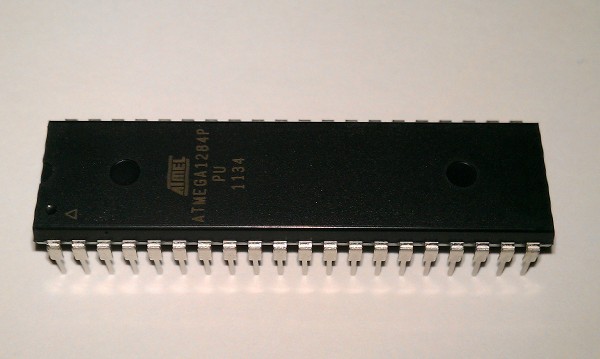
Bigger AVR MCU: ATmega1284P
Some weeks ago I received this little MCU:

Compared to ATmega328P, this ATmega1284P is not really a “little MCU”, it’s big (and I’m not talking about the physical dimensions):
| Feature | 328P | 1284P |
|---|---|---|
| SRAM | 2 kB | 16 kB |
| Flash | 32 kB | 128 kB |
| EEPROM | 1 kB | 4 kB |
| UART | 1 | 2 |
| IO Pins | 23 | 32 |
| Interrupts | 2 | 3 |
| Analog Inputs | 6 | 8 |
Health, work and “real” life plotted against me and so I haven’t been able to play with it until recently. Anyway, after quickly connecting an Arduino Uno and this ATmega1284P via the ICSP interface, here’s the abriged content of that chip out of the box (courtesy of the ATmega Board Detector sketch):
Standard fuse setup and “blank” program memory: everything looked in order.
Unfortunately there seems to be a “plague” which affects ATmega1284P’s first UART and so, even if the chips was running at just 16 MHz, after burning a version of the Optiboot bootloader prepared for this MCU, I couldn’t load any program via RX0/TX0. A way to mitigate this problem seems to be adding a 10 kΩ resistor and a 100 pF capacitor, which I didn’t have at hand, so I don’t know if they would have been the right solution to my problems.
I tried lowering the speed in vain, but perhaps I didn’t reduce it enough because later I haven’t had any issue with using the first UART to communicate with peripherals or the serial monitor…
Fortunately, tweaking Optiboot’s code to use RX1/TX1 was not very difficult (but I would have saved some time if I had checked the project’s page beforehand…) and so after a while I was able to load programs without problems. Here’s what the ATmega Fuse Calculator sketch running on ATmega1284P says about the Arduino Uno board’s chip: